|
2/28/2023 0 Comments Benefits of a Dream catcher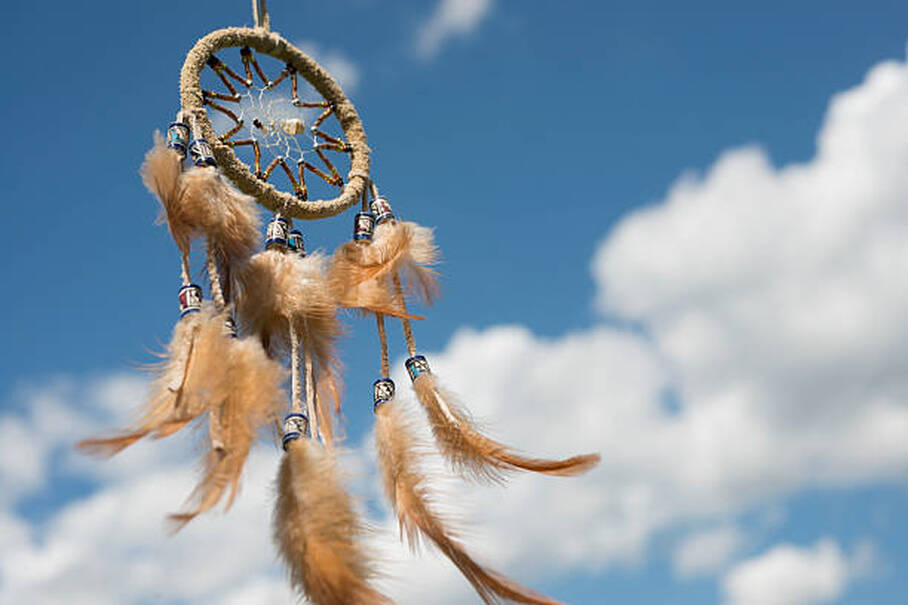 Making a dreamcatcher is a great way to teach children about the Native American culture. They can be made from a variety of materials, and are fun to decorate. They can also be hung in the home to keep bad dreams at bay. First, you’ll need to make the base of your dream catcher. You can use a plate, a hoop or even a ring. You can also use paper, fabric or yarn. Once you’ve chosen your base, you’ll need to cut out a circular shape from it. You can do this with a circle cutter, or by folding the plate in half and cutting a semi-circle from it. Visit this site to get more details on how to make a dreamcatcher. Next, you’ll need to hole punch a few holes around the rim of the plate. Start by making a hole on each side, then rotate the plate 90 degrees and punch two more holes in the opposite direction. This will fill the space evenly and create a nice rim for your dream catcher. You may need to do this several times, depending on how big your dream catcher is. Once you’ve done this, you can start threading the yarn. To thread the yarn, you’ll need a craft needle and a small piece of string. You can use a strand of wool, or you can use a thin ribbon. If you’re using a ribbon, you’ll want to cut it to roughly the same size. This will give your dream catcher more balance, and will help it look better overall. Step 2. Weave a web (web design) onto the hoop You’ll need a large hoop and a piece of string to weave a web on it. Once you’ve gotten the hang of it, you can start weaving a web on your dream catcher. After you’ve woven your first round of the dreamcatcher web, you’ll need to start weaving the second. To do this, draw the string bundle towards the hoop again but this time, instead of drawing it under the 2-inches part of the string attached to the hoop, you’ll be tying it in the middle of the hoop. Repeat this process until you reach near the initial knot and keep a small space between the last twist and the first one. Once you’ve finished weaving the second round, tie it off with a double knot to secure it. Step 3. Decorate your dream catcher with ribbons After all of the yarn has been tied to the craft ring, you’ll need to start adding more decorations. You can use beads, fabric strips, and suede lace to add more detail to your dream catcher. Alternatively, you can learn how to make a dreamcatcher easy by adding feathers or tassels to the top of your dreamcatcher. You can use a variety of different materials to decorate your dreamcatcher, and you can even paint it if you like. The dreamcatcher is a beautiful symbol that symbolizes many things. It represents the circle of life, Mother Earth and the continuous flow of energy. It’s also a symbol of hope and protection from evil spirits. A lot of people believe that dream catchers ward off bad dreams, and can even be a good way to bring good luck into your life! Check out this blog to get enlightened on this topic: https://www.ehow.com/how_2044932_make-dream-catcher.html.
0 Comments
Leave a Reply. |
